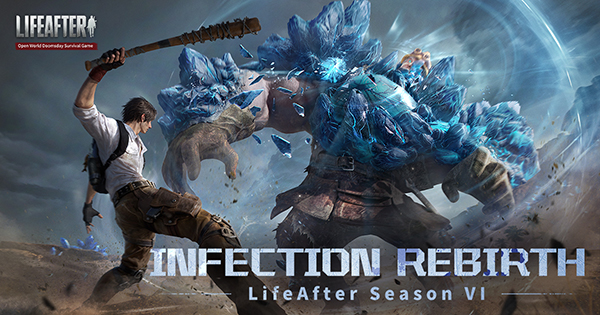
LifeAfter Season VI: Infection Rebirth has launched!
In the world of LifeAfter
A new PVP mode 'Ice Hazard' has been introduced
Today, Lucina brings you a step-by-step beginner's guide
To surviving in the 'Ice Hazard'
Check it out!
Gameplay Introduction
Everyday from 18:00 to 24:00
Players at Gathering Level 40 or above can participate in the Ice Hazard
Each game consists of 24 Survivors organized into 6 teams
They venture into the abandoned Jakolin Fort to search for supplies
Within this mode
Survivors cannot bring their own gear
They need to loot gear within the game
Attributes balancing are applied to all participants
Creating a fair competition environment
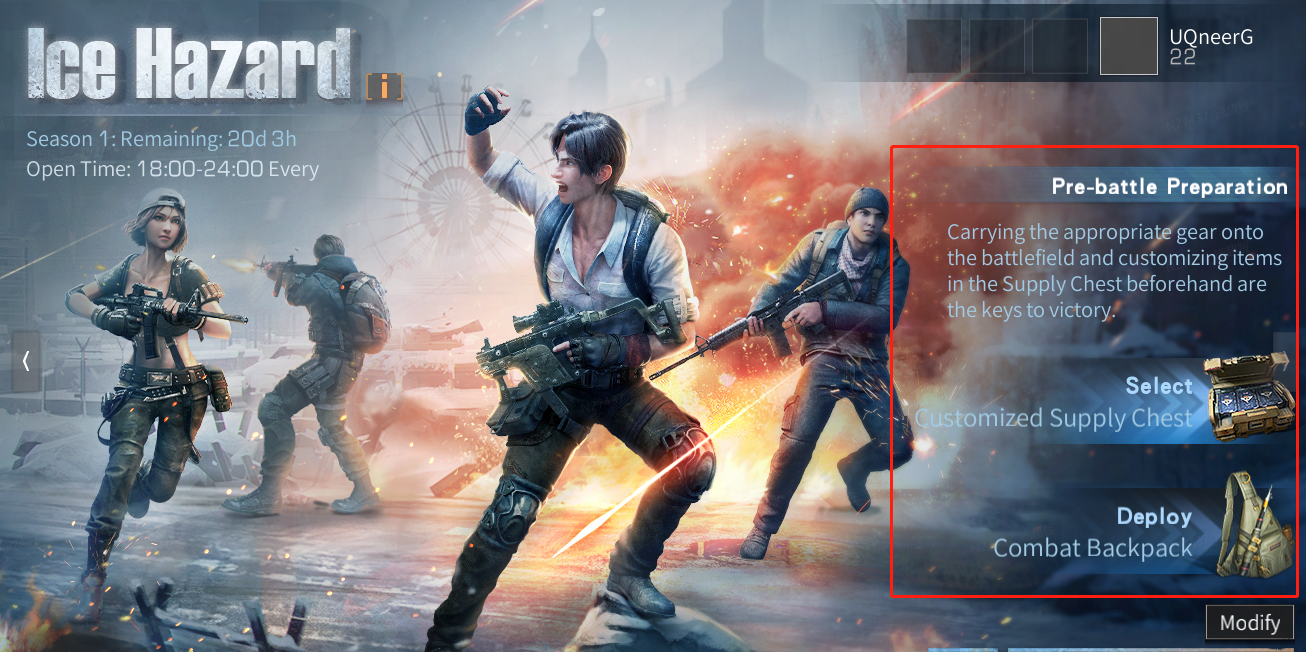
Survivors can click on
Quick Travel of Ice Hazard
to quickly join matches
In-game Progression
1. Collect resources
(1) Open loot chests
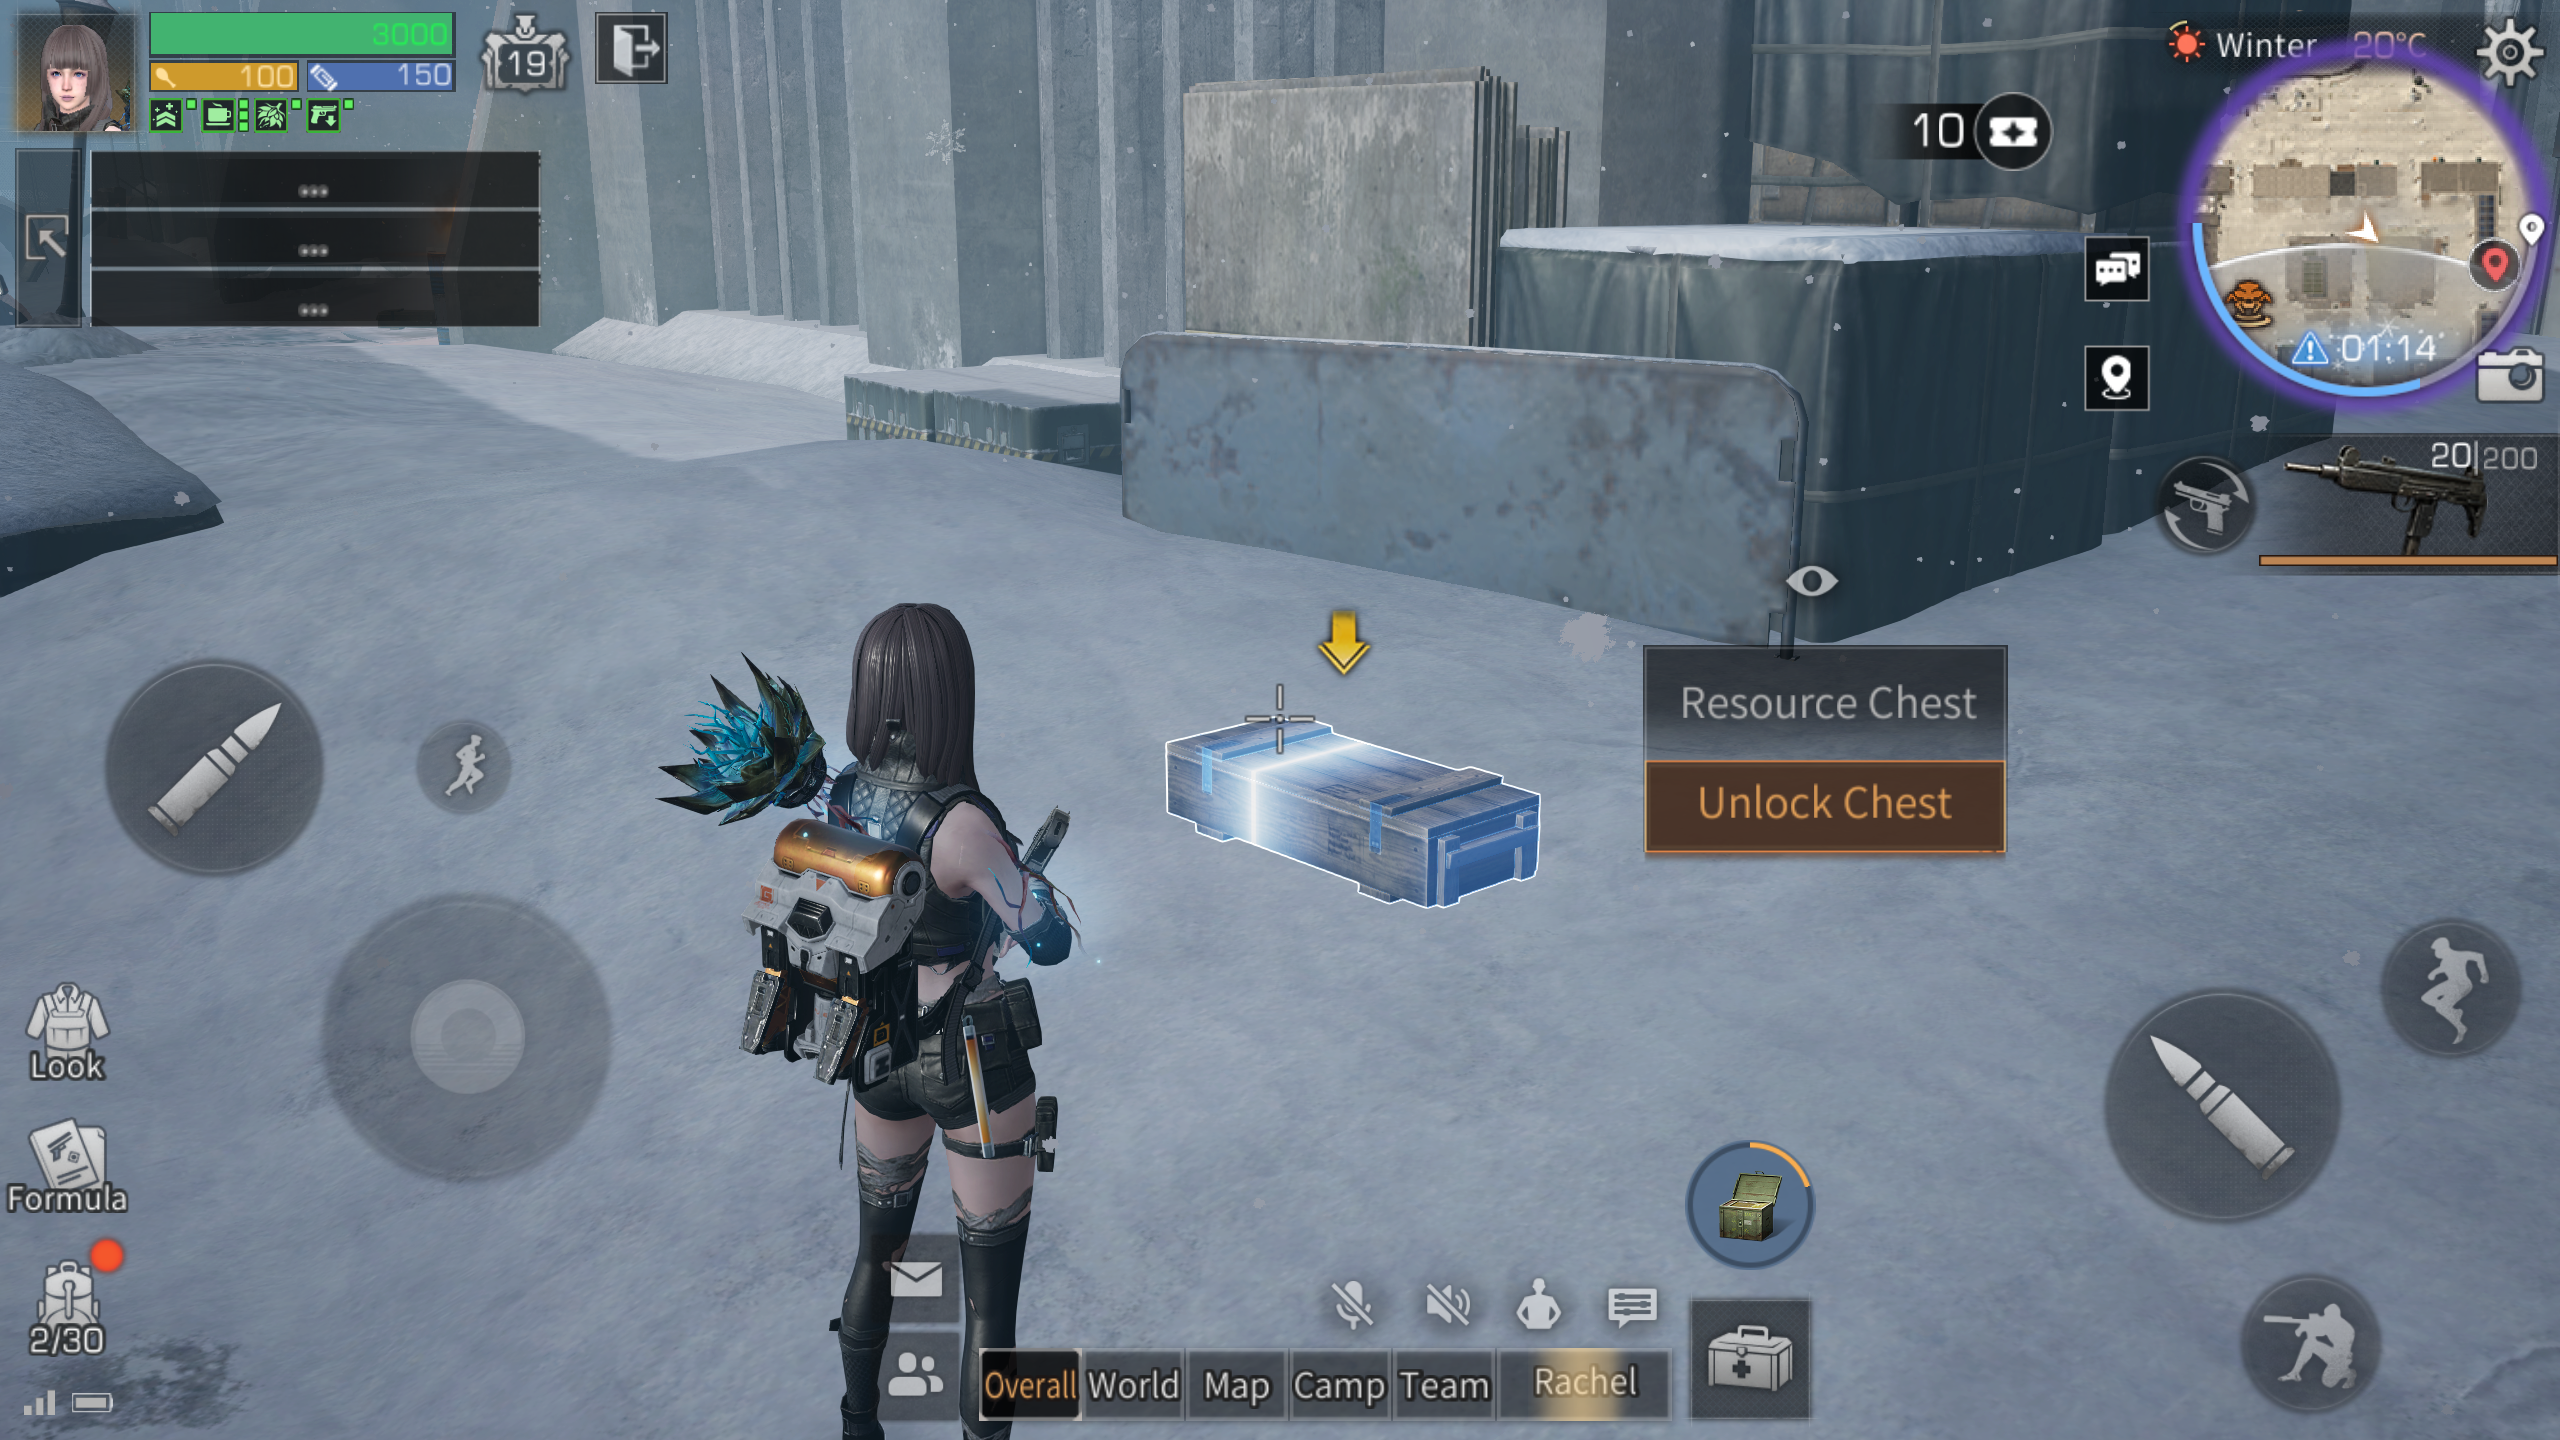
Supply Chests within the scene
Contain useful items like weapons and medical kits
These chests emit a distinct glow when approached
Keep an eye out for them
And gather the contents!
(2) Item Pickup
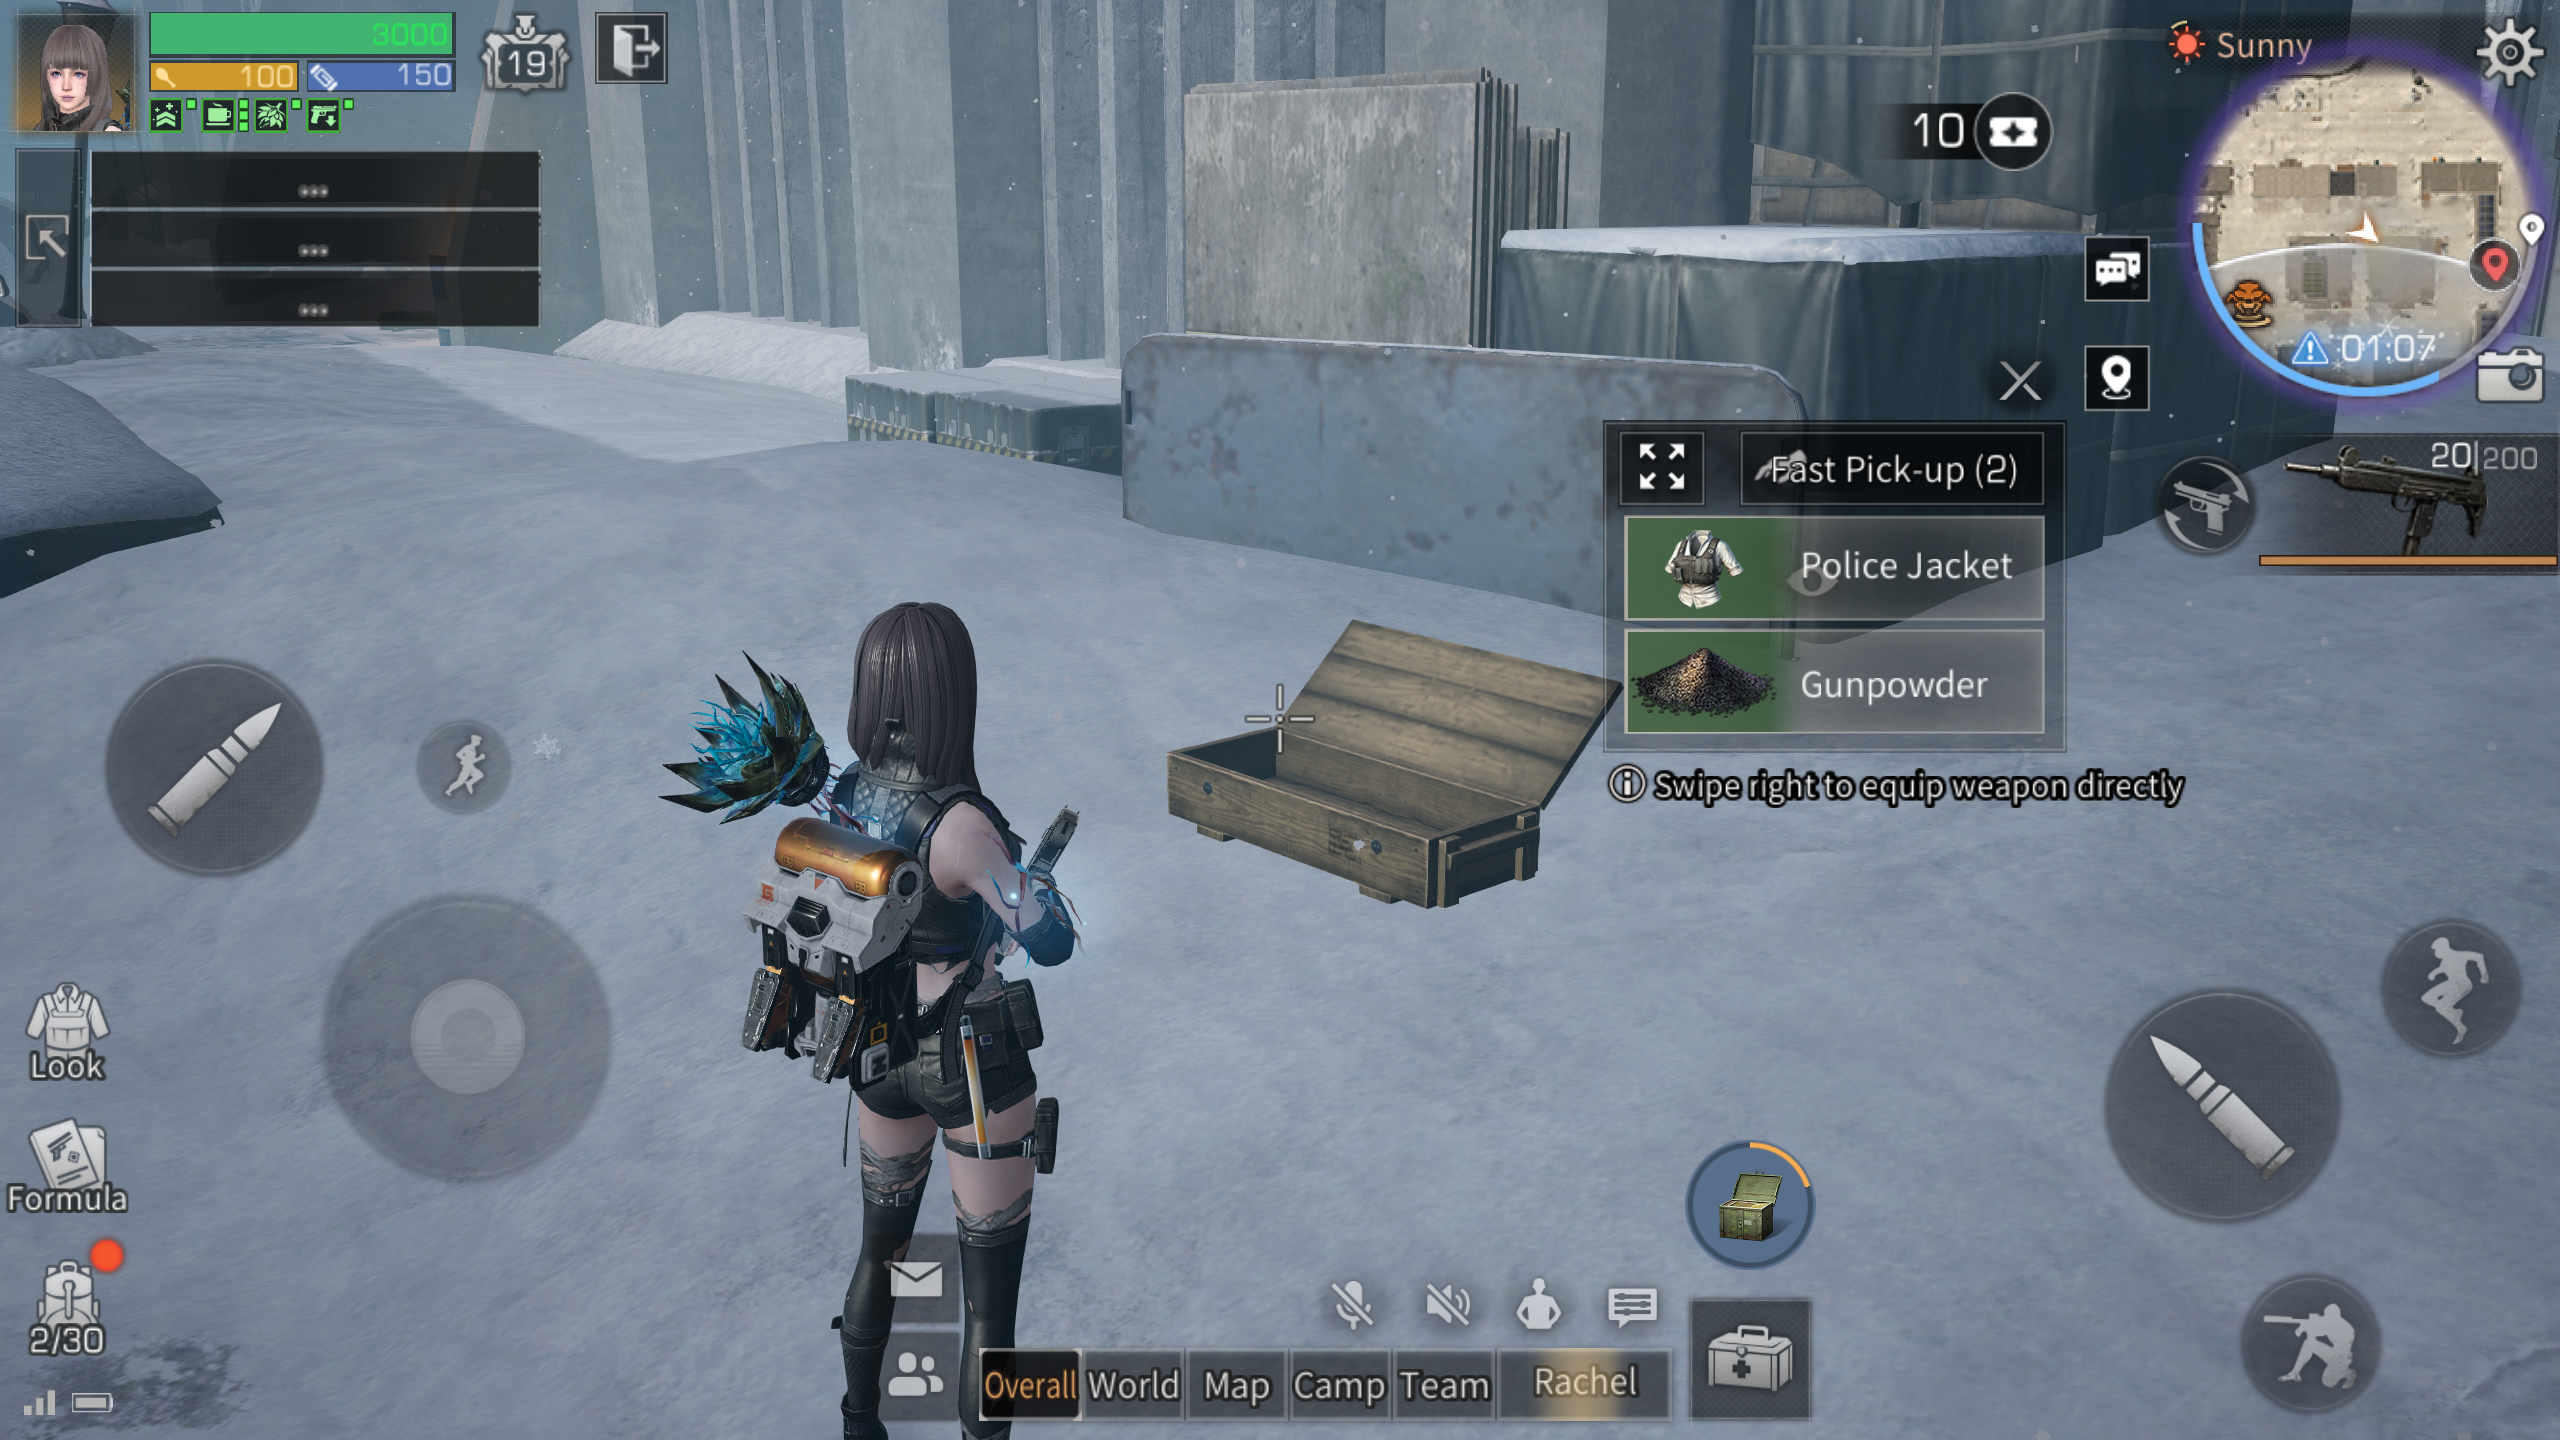
After opening a chest
you can pick up desired items
from the supply list
Survivors can swipe right
to replace their current weapon
with a new one
All items can be marked
By holding down on them
Alerting teammates to pick up
Don't hog all the items for yourself
Equip your entire team
To succeed in intense competition!
(3) Item Discarding

Players can open their backpack
Select items, and click the button on the graph to discard
Or use the 'Item Management -> Organize' option
Check items, and then click 'Discard'
To drop unwanted items on the ground
This allows you to provide teammates with gear
Or dispose of unnecessary items
P.S.
Items brought in by a configured Backpack
Will have Imperial-certified designs
Cannot be picked up by teammates after being discarded
(4) Defeating Guardian Creatures
Supply Chests come in various shapes
Each containing
Different quantities and qualities of items
Pay attention to the map's monster indicators
Which mark monster hordes
Yellow and red indicators mark elite monsters
While blue indicators mark special Infected on the map
They guard higher-quality Supply Chests
Defeating them yields richer rewards!
(5) Advanced Resource Zones
Blue circles on the map
Denote advanced resource zones
Where
A randomly spawned chest
Guarantees a purple-grade item drop
2. Team Communication
(1) Utilize Quick Marking

Press the mark button
Beside the mini-map at the upper right corner
To mark a location where your aim is
All teammates can see your markings
Different markings appear
When targeting enemies or monsters
Please use this function
To communicate more with teammates~
(2) Use Quick Communication

Select from a range of preset phrases
By clicking the dialogue button
Beside the mini-map
This spares you from typing
And makes the communication with teammates easier
3. Safe Zone
(1) About Safe Zones
As time passes, the safe area
In the game scene shrinks
Due to intensifying cold
Players outside the safe zone
Will continuously suffer frostbite
Leading to a gradual decrease in health
Ensure you stay within the safe zone
The white circle on the map
Designates the next safe zone's boundaries
Survivors can plan your actions
Based on this circle's location
(2) Shrinking of the Safe Zone
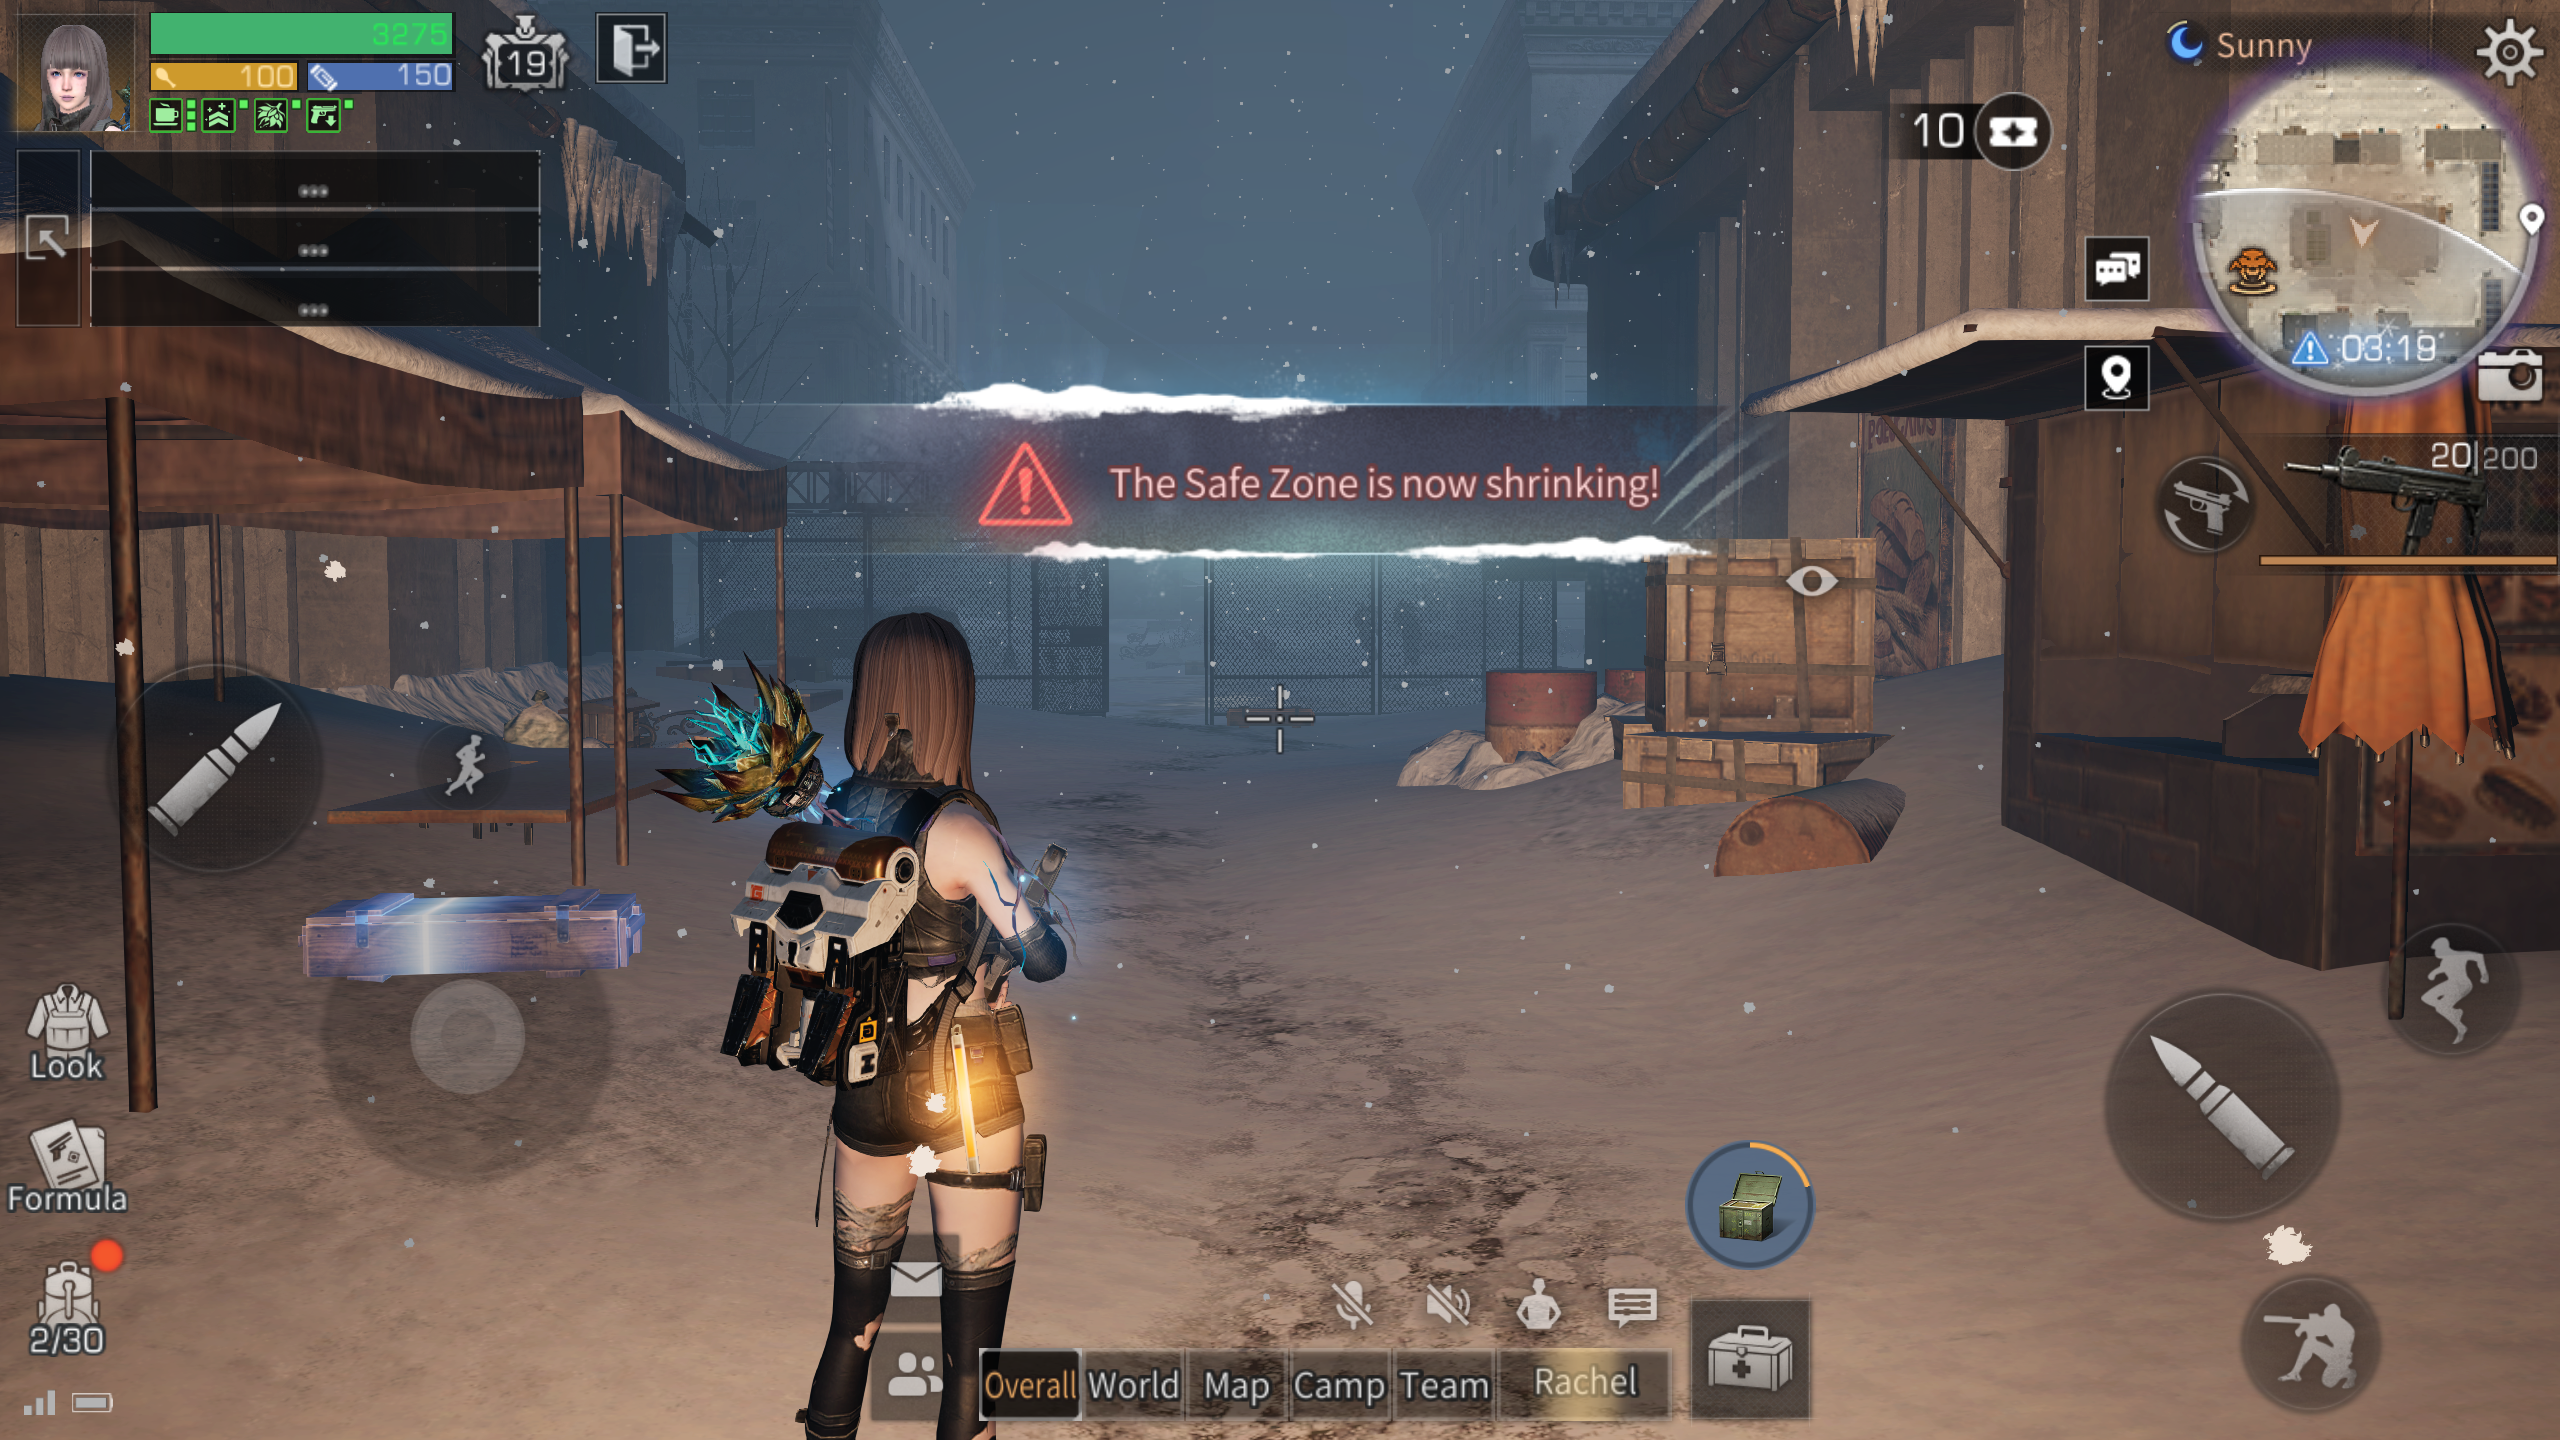
When the safe zone starts to shrink
A clear screen prompt appears
And purple effects begin to flicker
On the outer edge of the mini-map
Survivors should move quickly
Into the white circle to stay safe
4. Scouting Points
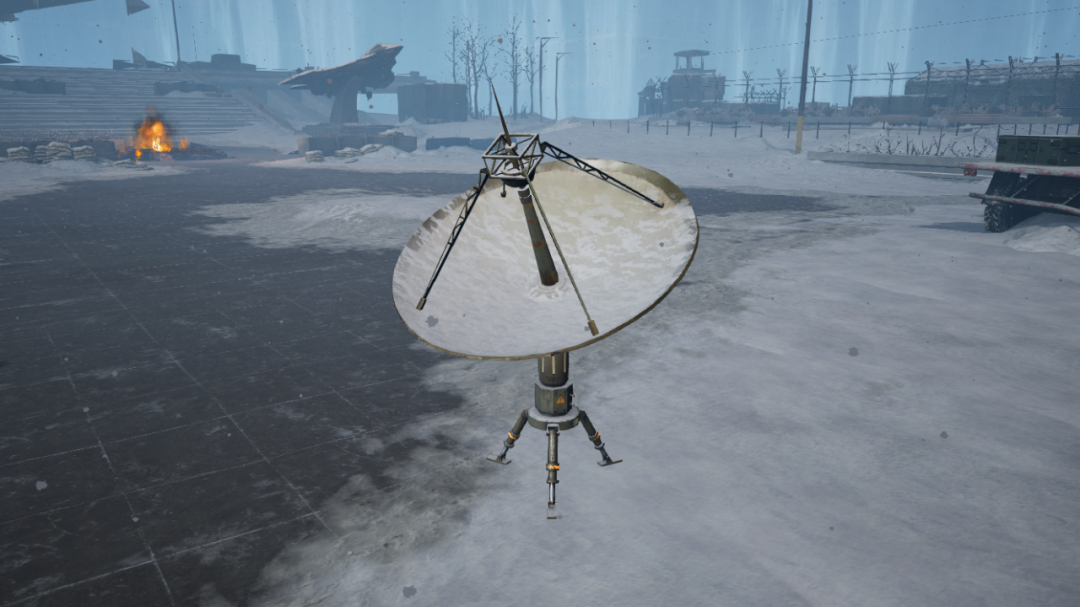
The black radar icon on the map
Indicates the location of scouting points
After using the scouting point radar
You can scan for opponents' positions
Within a certain range for a limited time
Nearby foes are marked
With red arrows on the mini-map
When entering a radar's detection range
Activated by other players
The screen would display a warning
"Your position is revealed by radar!"
To warn that your position has been revealed
5. Evac Points
(1) Evac Point Respawn
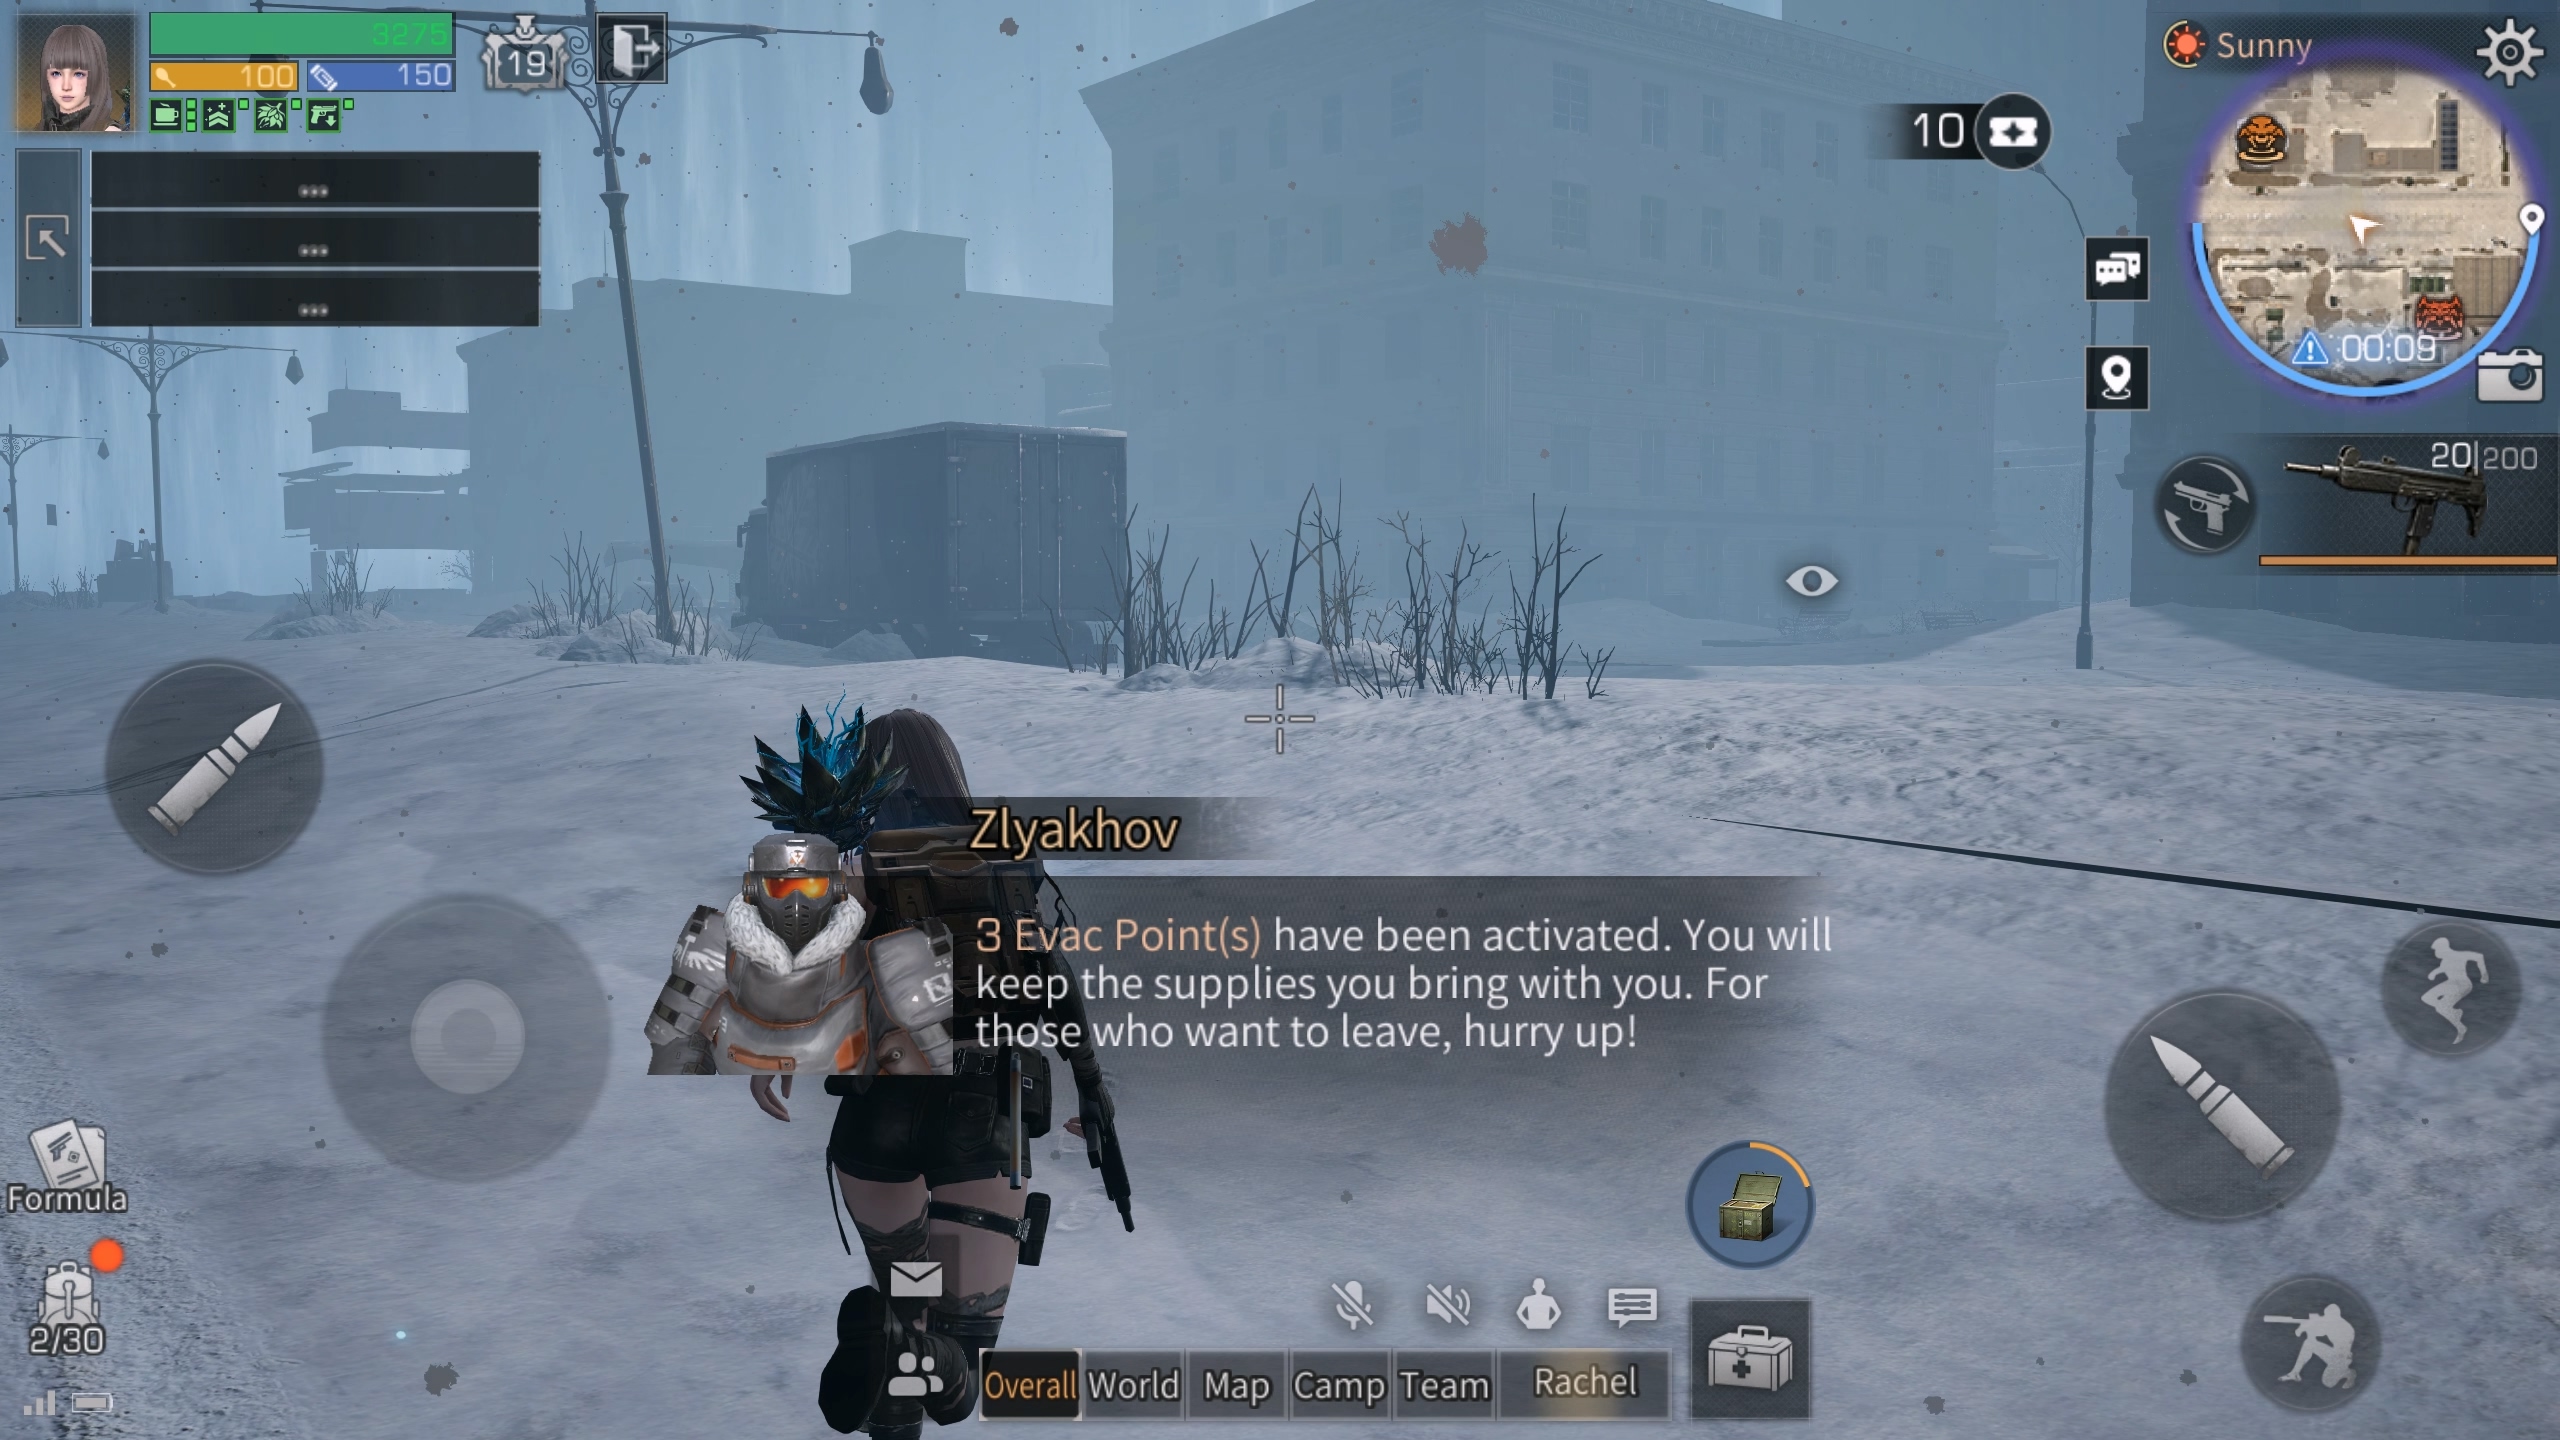
Evac Points
Respawn randomly within the safe zone
At specific times during the game
When new Evac Points appear
NPC prompts appear at the bottom
P.S.
As the game progresses
The safe zone shrinks
Increasing the chances of finding an Evac Point
Thus, surviving until late game
Greatly improves your odds of successful evacuation
(2) Finding Evac Points
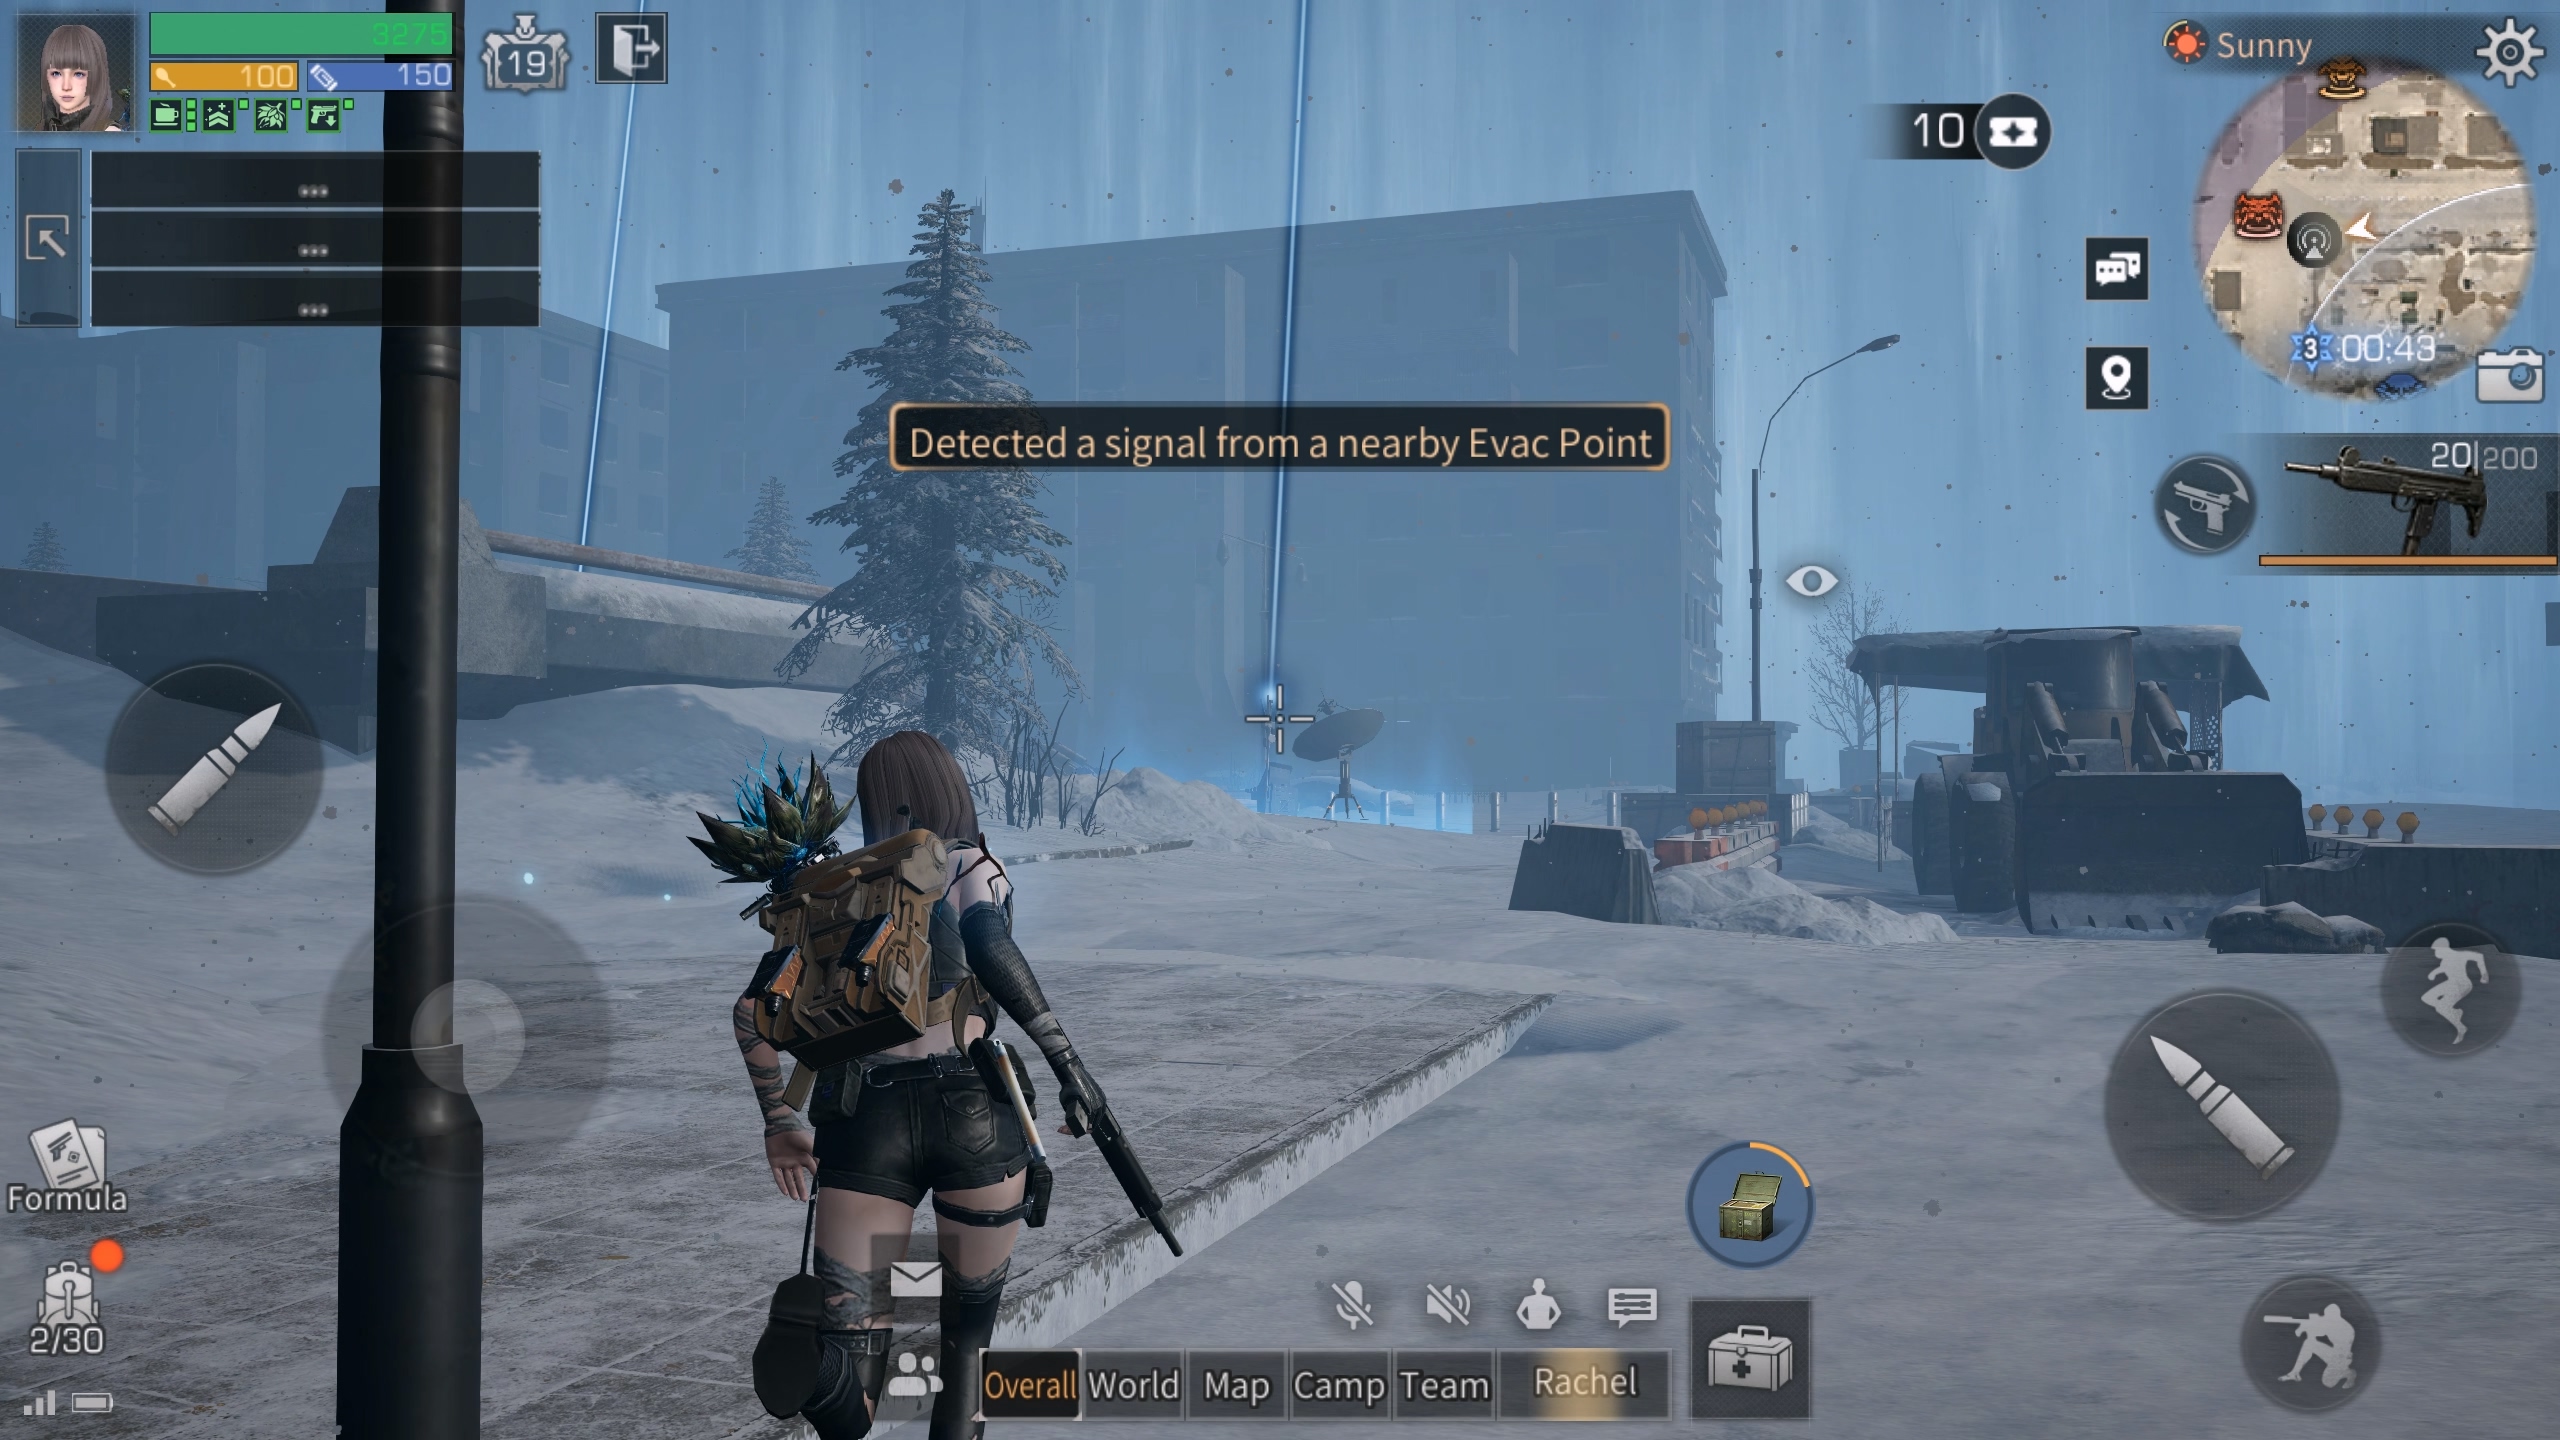
When you're near an Evac Point
A prompt appears on the screen stating
"Evac Point signal detected nearby."
Simultaneously, the Evac Point
Emits a blue laser beam into the sky
Aiding precise location determination
(3) Use Evac Points

After a teammate interacts with an Evac Point
The laser changes to yellow
And waiting for 30 seconds
A countdown progresses at the top center of the screen
When the countdown ends
All standing teammates
Within the Evac Point's aura can evacuate
6. Elimination
(1) Elimination Status
When a player's health or sanity reaches zero
They enter a downed state
Continuous enemy attacks while downed
Result in elimination
Teammates can revive a downed player
To return to normal state
(2) Gear Drops Upon Elimination

After elimination
Only items with phosphorescent coatings
Can be brought out the mode from the backpack
All other gear drops
And can be picked up by other players
That's all for the in-game guide for the Ice Hazard mode